-
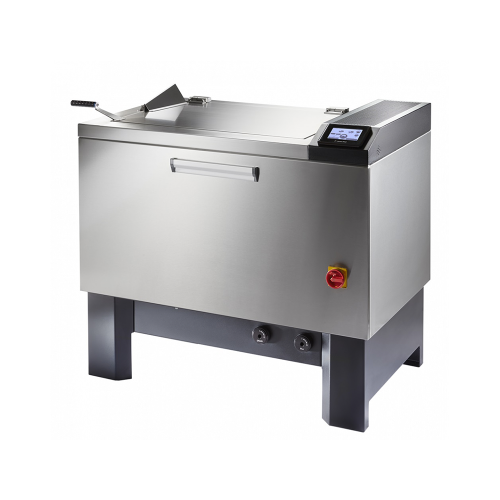
Cup washing machine for color fastness testing. This cup washing machine is used for evaluation of color fastness of textiles and leather, for dry cleaning and washing in standardized soap liquid, chlorinated water, etc. The Gyrowash 815, cup washing machines confirm everything that is synonymous with James Heal instruments: innovative engineering, versatility, ease of use, affordability and last but not least, longevity. Within the Gyrowash range there are 2 models, with the flexibility for small and large sample cups: Gyrowash 815/8 - 1 bath With a maximum capacity of 8 large or 8 small test cups. The most affordable single bath Gyrowash. Ideal for laboratories performing low-volume wash and dry cleaning tests for color fastness to European and American standards. Gyrowash 815/20 - 1 bath An officially recognized AATCC test instrument (AATCC Test Method 61.) The horizontal rotor accommodates five test cups on each of the four sides. So a maximum capacity of 20 large (1200ml) or 20 small (500ml) cups, or a combination of these.
-
Specially designed for testing textiles, non-woven and leather in various forms: yarns, fabrics, clothing and the safety of accessories. The combination of technical innovation and intuitive contributions from users has led to the realization of this user-friendly test device. With the intelligent and easy to use "TestWise" software you can get started with 3 clicks. The extensive library of test routines, together with the wide variety of clamps and grippers, make it possible to test according to a large number of international and customer-specific standards. A few features: Wide range of clamping tools for custom and standard test routines Rapid change of clamping pieces and power cells Testwise software with an extensive file of pre-programmed test methods
-
This thickness measuring device has been used in laboratories all over the world for decades. The depth of measurement, foot shape and test pressure are configured to test materials in accordance with the respective specifications of the applicable ISO, EN and DIN standards. This hand-held thickness gauge has an interface for digital processing of the measurement data.
-
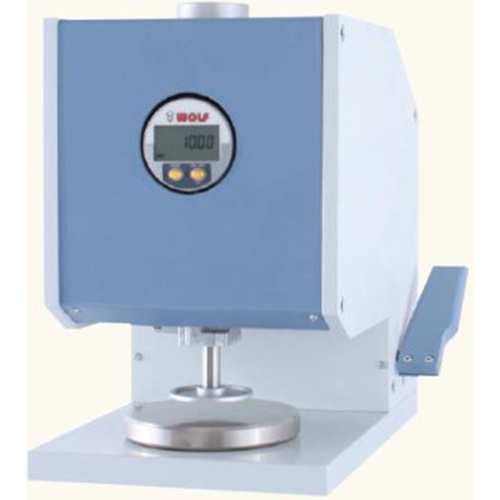
The specifications of this thickness gauge are the same as the DM 2005. The exception is the manually operated foot movement instead of a motor-driven transport. The stability of the speed of the foot movement is controlled by a delay in the transmission of the control lever.
-
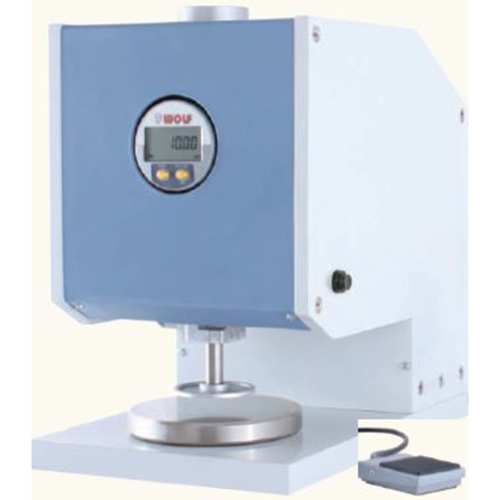
Alternative to the thickness measuring device, DM 2010. Equipped with a measuring unit with LCD, instead of the illuminated, menu-driven touch-screen. This thickness gauge has a segmented display and individual control keys. Of course there is a data output for the digital processing of the measurement results. The DM 2005 model is also available with the options: - Adjustable measuring time - Selectable measuring range
-
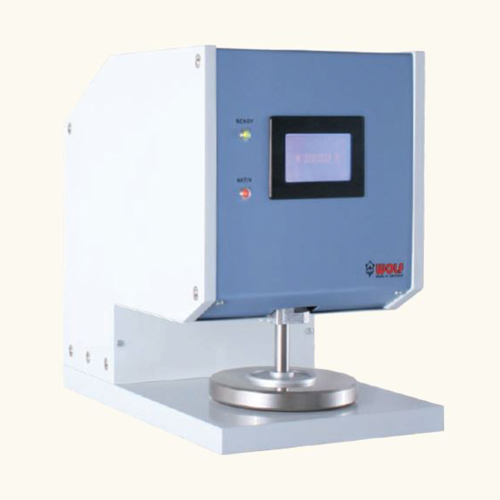
Thickness measuring device, standard compliant for various materials. Measuring range optionally up to 10 mm, 25 mm or 50 mm.
- Resolution of your choice, 0.001 or 0.01 mm
- Measuring depth (center of base) 110 mm
- Illuminated graphic touch screen. Menu-driven operation (optionally in German or English)
- Single measurements and measurement series with adjustable number of measurement cycles
- Always up-to-date and simultaneous display of measured value, measuring cycle, mean and standard deviation
- Automatic zero point control
- Adjustable measuring time, from 1 - 60 seconds
- Motor driven constant speed foot movement. (standard 2.5 mm / s)
- Time-saving pre-settable measuring path
- Digital interface
- Footswitch operation
- Software
-
This thickness measuring device combines all the functions of the DM 2010, with the automatic transport of the sample material. The transport speed and sample length are adjustable.

